
Thursday, August 30, 2012
Health hiatus
It's redundant to mention that I'm taking a blog hiatus as the lack of posts probably made that pretty clear. I haven't been able to get my chronic pain under control since having Everett and with the combination of PT and some really nice pain killers, I'm finally making this my first priority.
Until you get a glimpse of what it feels like to not be in constant pain, and the related inactivity, you can get so blinded by how much it's affecting your life. But once I saw how active and productive and happy I was for those few hours of respite that the prescription pain killers gave me, I had no idea just how stunted I'd become.
So I'm taking a few months to kick this thing and get my life back. I'd like to relaunch with a new blog design, better content, and a regular posting schedule. Thanks for sticking around and I'll see ya on the flip side...
Thursday, July 26, 2012
Parenting is...
Having this conversation:
Me: Yeah, I have to take Everett to the doctor today. Yesterday he woke up with half of his eye bloodshot, but they couldn't get me in last night so we're going this morning. Of course, it's, like, 90% better today, so I guess I could cancel, but... I can't.
If I cancel then obviously he'll have some horrible, unknown, never-heard-of condition, called, like, Swamp Eye or something and I won't know until next week when his eye just falls right out of his head and then the cat starts playing with it. And then we'll be one of those horrific cautionary tales at mom's groups. Like, did you hear about that poor baby with Swamp Eye?!! Yeah, his eye was bloodshot and then they THOUGHT it was better and NEVER SAW THE DOCTOR and then that poor child's eye just FELL right out of his face. So, you know, don't ignore a bloodshot eye or else you'll be like THAT BABY.
Sister-in-law: Oh yeah, you have to go. He'll totally end up without an eye if you don't.
Me: Agreed. Am leaving now to pay my $20 co-pay to have them tell me my child's fine and definitely didn't have a baby stroke that only presents in the eye, and only for a very short time. $20 is a small price to pay to the gods of superstition.
Wednesday, June 27, 2012
Toddler art birthday card

In my ongoing project to make something homemade for each holiday, here is the birthday card I had Charlotte make for my dad.
I swirled a bit of yellow and red paint, helped her stamp her fingerprints as the flames and then drew in the rest. I'm sure those of you with more art skills than I could really make some amazing cards, but orange swirls was the best Sharpie cake I had the patience to make.
We try to do something handmade for every holiday. Here is a list of our past work:
Father's Day
Mother's Day
Easter
Valentine's Day
Christmas
Thanksgiving
Tuesday, June 26, 2012
Father's Day card

This was the Father's Day Card that Charlotte sent to her grandfather this year. All of our card projects are painting-based because it's her favorite art activity. I cut out a tie shape from one of the recent paintings, glued it to a card, and voila!
We try to do something handmade for every holiday. Here is a list of our past work:
Mother's Day
Easter
Valentine's Day
Christmas
Thanksgiving
Friday, June 22, 2012
Easy appetizer

I made these Chinese-Style Turkey Meatballs for Everett's Naming Ceremony after having them at another party and they were amazing. I tripled the recipe and made it a few days in advance, then used a cookie scoop for speed and cooked them the day-of. Perfect food for a crowd - delicious, easy to eat, gives people protein, and contains no allergens (a constant concern for me as we have a nut allergy in our family).
Thursday, June 21, 2012
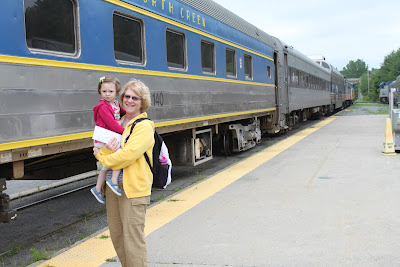
First Train Ride
Charlotte mentioned to her Nona a few months ago that she wanted to take a ride on a train. And while it was probably a mere flashing blip in the wandering, scattered mind of a two-year-old, you can't make such a cool request of your grandmother and not have it honored. Especially when her own father was a lifelong railroad employee.
The initial plan was to find a little round-trip Amtrak excursion we could make, but then I stumbled across the Saratoga & North Creek Railway, a dedicated track and train used exclusively for touristy jaunts into the Adirondacks. It was more expensive, but definitely the way to go.
We bought tickets for the second level dome car, with full table-side meal service (breakfast on the way up and lunch on the way back) and huge bowed windows for premium sight seeing.
Taking an off-peak trip on a Monday in the summer was ideal planning. The dining car and the rest of the train were empty, meaning that Charlotte could take as many walks as she wanted without interrupting anyone else's trip.
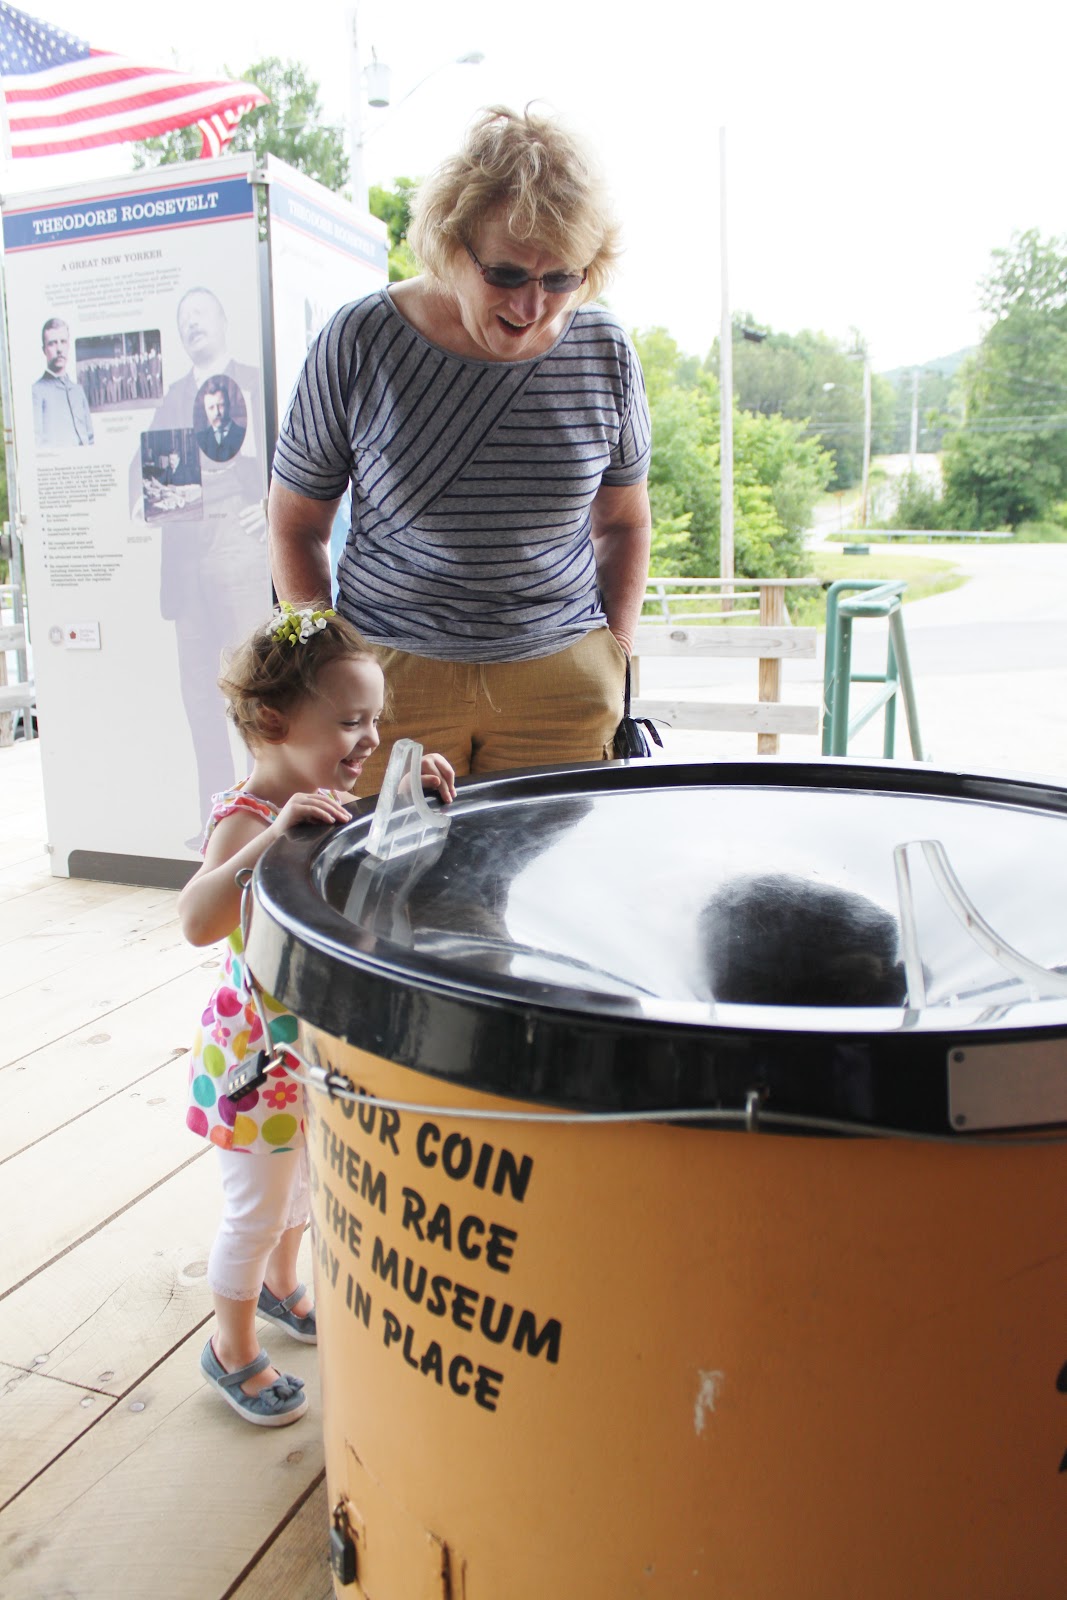
Our half hour layover in North Creek basically just consisted of Charlotte burning off energy by running around the beautiful wooden platform, but technically there is a tiny little village we could have taken the "shuttle" (read: golf cart) to.
The only downfall worth mentioning is that because the rail cars are vintage, the stairs, hallways, and seats in the train are all extremely narrow. When I first sat down in the dome car I felt a little claustrophobic, but it went away very quickly.
Additionally, we were very comfortable at our table for four with two adults and two small children, but it would feel very tight with four grown adults. (This could be worked around by purchasing four tickets with two separate transactions - then they'll sit you at two separate tables. You would only have your seats filled if the train was completely full. I'm sure this happens during leaf peeping season, but not in the summer)


The initial plan was to find a little round-trip Amtrak excursion we could make, but then I stumbled across the Saratoga & North Creek Railway, a dedicated track and train used exclusively for touristy jaunts into the Adirondacks. It was more expensive, but definitely the way to go.
We bought tickets for the second level dome car, with full table-side meal service (breakfast on the way up and lunch on the way back) and huge bowed windows for premium sight seeing.
Taking an off-peak trip on a Monday in the summer was ideal planning. The dining car and the rest of the train were empty, meaning that Charlotte could take as many walks as she wanted without interrupting anyone else's trip.
Our half hour layover in North Creek basically just consisted of Charlotte burning off energy by running around the beautiful wooden platform, but technically there is a tiny little village we could have taken the "shuttle" (read: golf cart) to.
The only downfall worth mentioning is that because the rail cars are vintage, the stairs, hallways, and seats in the train are all extremely narrow. When I first sat down in the dome car I felt a little claustrophobic, but it went away very quickly.
Additionally, we were very comfortable at our table for four with two adults and two small children, but it would feel very tight with four grown adults. (This could be worked around by purchasing four tickets with two separate transactions - then they'll sit you at two separate tables. You would only have your seats filled if the train was completely full. I'm sure this happens during leaf peeping season, but not in the summer)


Wednesday, June 20, 2012
Toddler Craft: Bird Feeders
It's hard to find little projects that are suitable for toddlers. The attention span, the fine motor skills, the fact that you don't really want to fill your house with crap. This one, from Prudent Baby, was perfection.
They got to dump, to stir, to dump again, to stir again, to spoon... And then it got to leave the house and be genuinely useful. BAM!

Mix the gelatin with water.
Add bird seed

Spoon into cookie cutters.
Dry overnight.

Hang.
If you're a toddler: Assume that the moment after hanging, all neighborhood birds will dive bomb your feeder immediately. Feel confused when this doesn't transpire.
If you're an adult: Pretend that something other than squirrels are going to enjoy the bird feeders.
Subscribe to:
Posts (Atom)